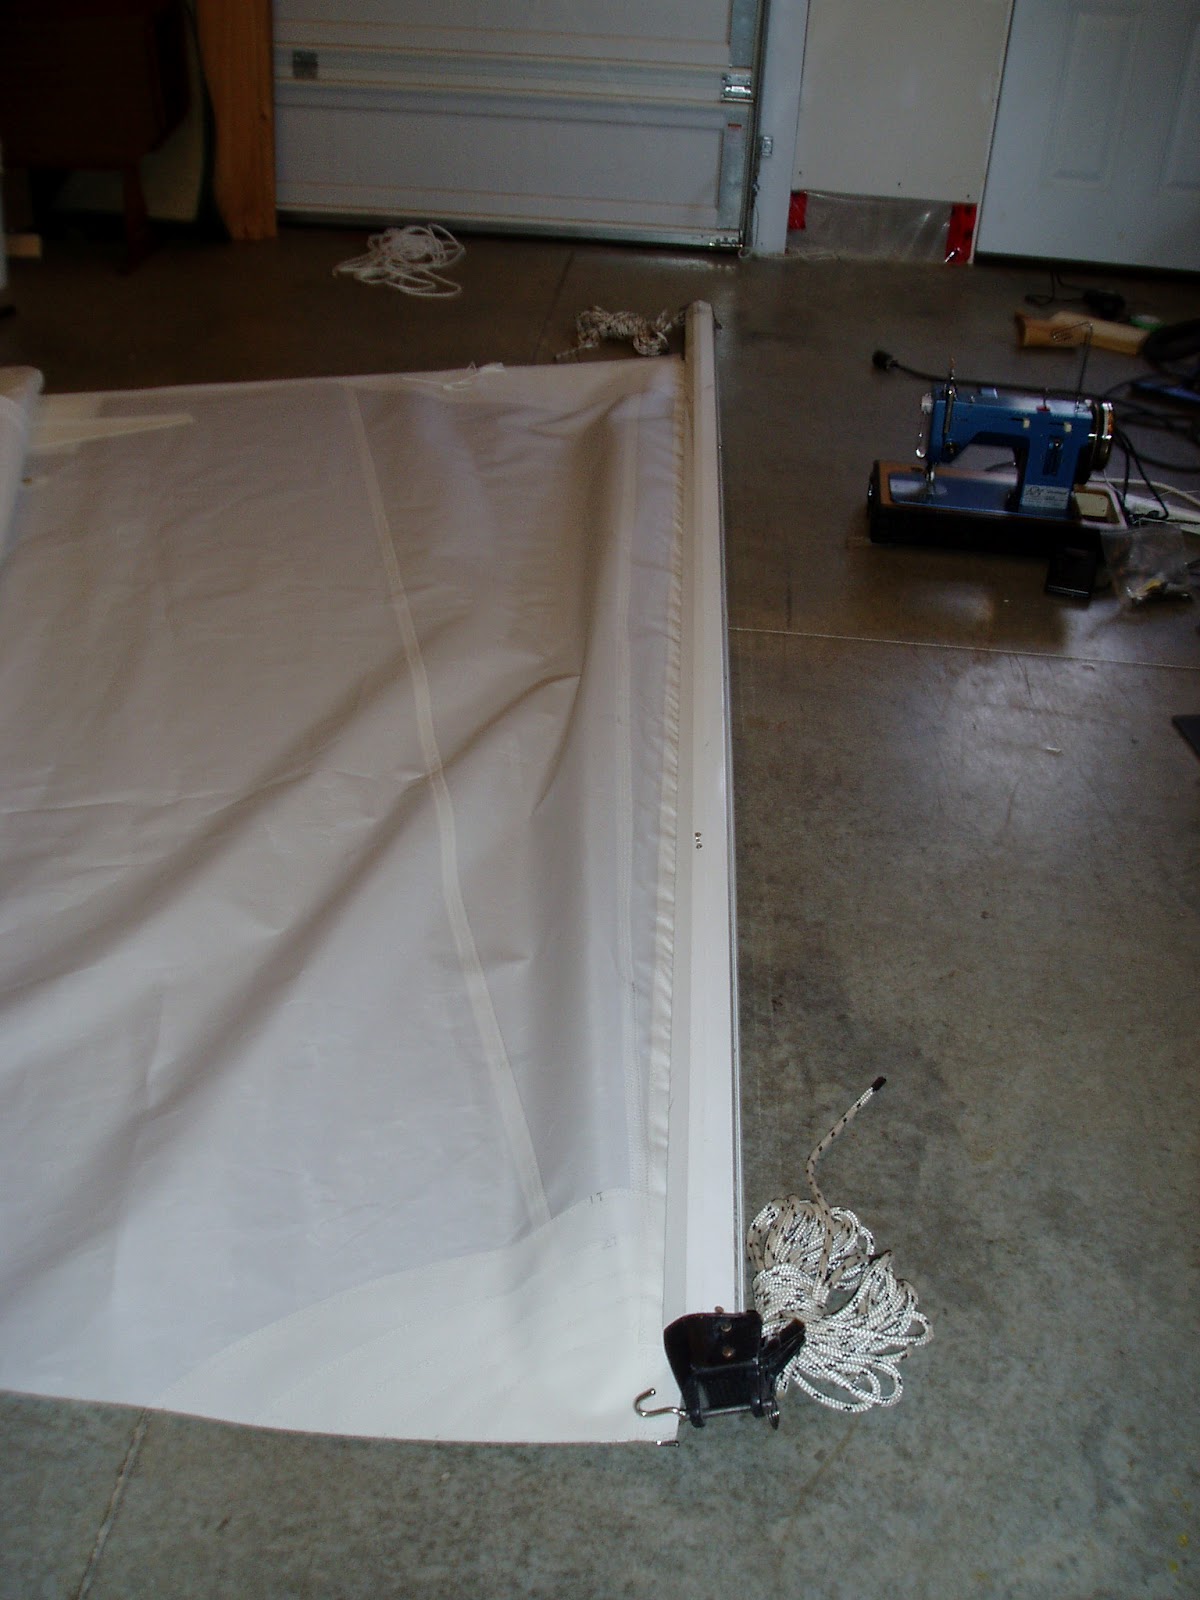
I've also decided to put the staysail back under the sewing machine. The tapes along the edges were only sewn with a single row of stitching. I doubled them up on the main, and I think I like that better, so I am going to add the second row of stitching all around the staysail too. It didn't call for it in the instructions, but what can it hurt.
So, I got two 4oz rolls of thread with each sail kit. Today I finished the first roll, and both sails are pretty much done. Funny thing is, I ordered an extra four 4oz rolls for future projects. It'll probably be a hundred years before I need to buy more thread.
The directions for the mainsail were horrible. I thought they were really good when I first read them, but after trying to follow them while building the sail, I realize they were missing a lot of info, some of it was wrong, and some of it just wouldn't work on this sail. Luckily I had done the staysail first and had some idea how it should go together. I studied my existing main, and did a lot of digging in Emiliano's book, but I figured out how to do it right for my application. I was really surprised how poorly my existing mainsail was put together in comparison to this new one. I guess it was designed for sailing around the great lakes and not for offshore. I picked out the weak points and made sure that the new main does not suffer from the same problems.


Much fun.... However, I am looking forward to getting it finished so that I can move onto the next project. The real excitement will be when I bend them to the mast and let wind fill them up. Ahh, the pain of waiting.
Its supposed to rain tomorrow, so I plan to get lots of the hand work done. I would love to finish the sail, but that might be pushing it.
Until later....
No comments:
Post a Comment